Ask the Builder: DIY electrical work at your house

Are you aware how expensive it is to hire a professional to do simple jobs around your home? I know they’re worth the price in many cases because I used to do that work day-in day-out. You may be on a fixed income and simply can’t afford to hire a pro. Thank your lucky stars there are thousands of great videos to help you, and keep in mind I’m just a phone call away if you get in a bind.
Inflation is still raging out of control. I don’t care what the news says. Just days ago I had to purchase small plastic 90-degree bends for ½-inch PEX tubing. Each one of these small plastic fittings was $2. A sheet of 4x8x½-inch drywall is $15.
A friend of mine had to hire an electrician not too long ago. There were several very simple electrical jobs to do at his home. The total bill for the four hours of labor, including $125 worth of materials, was $1,100.
My friend reached out to me in shock. I told him, “I wish you would have called me before you hired him. You and I could have done that work in the same time and you would have saved over $900.” My friend has done favors for me, and I owed him a half-day’s work.
I can’t begin to tell you how easy it is to do most of the electrical work inside your home. You may be terrified of electricity because you can’t see it and it can and will bite you if you’re not careful. Fires caused by faulty electrical wiring happen each day. The truth is it’s very simple to install residential cables and wires safely so there is no fire risk.
My baptism as an apprentice electrician came just about 50 years ago. Just before my 23rd birthday, I purchased a repossessed FHA house in a very nice Cincinnati neighborhood. I was the only bidder and paid $8,500 for the three-bedroom wood-frame house.
I gutted the second floor and put in new wiring. A retired electrical engineer was a close friend of my father-in-law. In just hours he taught me all I needed to know to wire all the new outlets and light switches. He even taught me how to install two magic three-way switches to control a hallway light from two different switches. I’ll never forget the simple drawing he made for me.
Here are a few common-sense things you can file away that should start to build your confidence. The duplex receptacles in your home are probably wired using 14-gauge copper wire. This is the size wire you’d connect to a 15-amp circuit breaker in your electrical control panel.
The next size up is thicker 12-gauge wire. This is rated for 20 amps. It’s best to use this size wire for outlets in kitchens and bathrooms. Kitchen appliances, hair dryers, curling irons and so forth can draw well over 1,000 watts. It’s wise to have multiple separate 20-amp circuits in your kitchen. The National Electrical Code tells you exactly what size wire to use to power the circuits in these rooms.
Never mix wire sizes on the same circuit. The cables are now color-coded so It’s easy to avoid mistakes. White outer insulation is used on cables that contain two 14-gauge wires plus a ground wire. Yellow outer insulation is used on cables that contain two 12-gauge wires plus a ground wire.
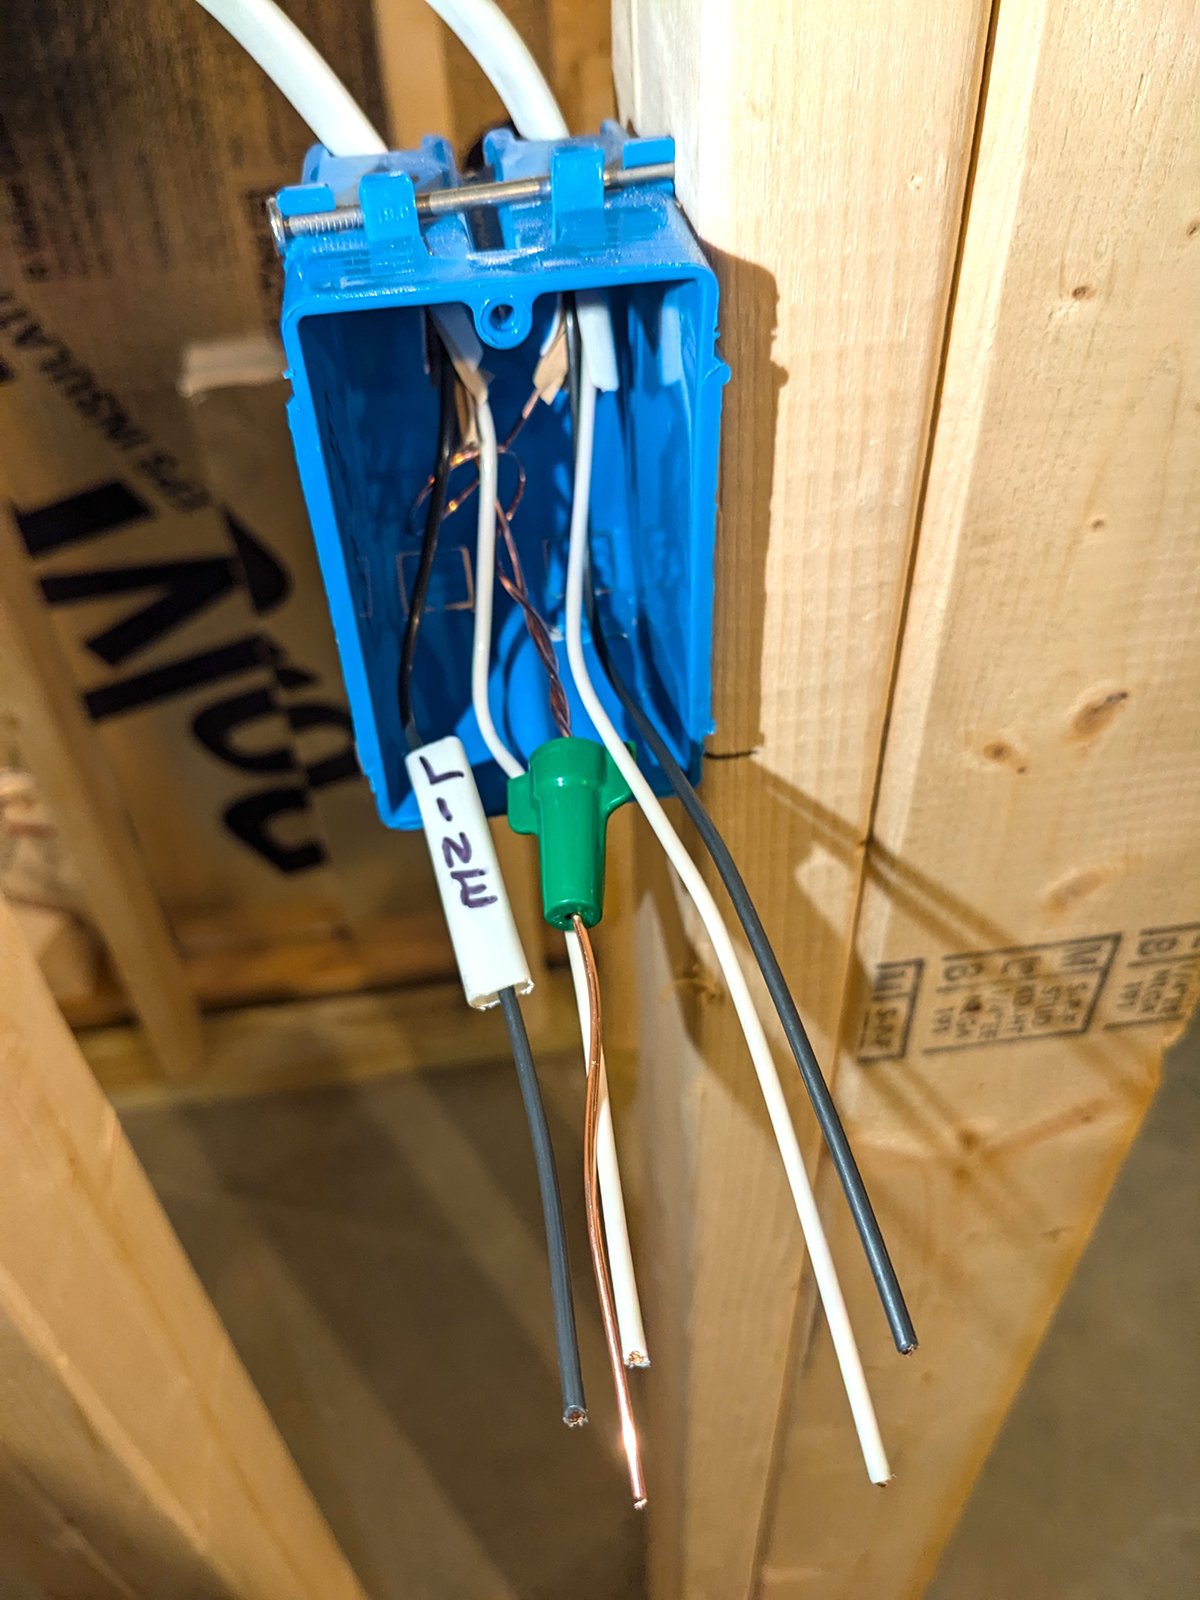
When you strip off the insulation on one of these cables, you’ll see a wire covered in white insulation and a separate wire covered with black insulation. You’ll also see the bare copper ground wire. It’s normally wrapped in thin brown paper. It has no plastic insulation on it.
The black wire is considered the hot wire. This is the wire that connects to the circuit breaker in the electrical panel. The white wire is called the neutral. It attaches to a grounded bar inside the electrical panel. The ground wire attaches to a separate bar in the panel.
Look at a standard duplex receptacle and you’ll see on one side brass screws and the other side silver screws. You attach the black wires to the brass screws and the neutral wires to the silver screws. There will be a green screw on the receptacle. Attach the ground wire to this one.
Light switches only have brass screws unless it’s a fancy 3-way switch. Most switches in your house are single pole. This means one switch controls a light or several lights. You’ll just see two brass screws on the single-pole switch plus the green grounding screw. One black wire that is hot all the time attaches to one screw, and the other black wire going up to the light attaches to the other brass screw. The two white wires, one from each cable, get wire-nutted together to send the neutral wire up to the light. See how simple this is?
There are hundreds of great videos on YouTube that show you the fine points of just about every job you need to do at your home. You can see how to run the cable safely and how to secure it to meet the NEC requirements. Watch enough videos and you’ll soon be able to tackle very simple electrical jobs saving yourself hundreds of dollars.
Obtain all the necessary permits to do this work and don’t hesitate to have it inspected. Ask the inspector if everything looks good if you have any doubts about your talents.
Subscribe to Tim Carter’s free newsletter at AsktheBuilder.com. Carter offers phone coaching calls if you get stuck during a DIY job. Go here: go.askthebuilder.com/coaching