A beginner’s guide to ski photography: You don’t need to be a pro to capture snowy scenes
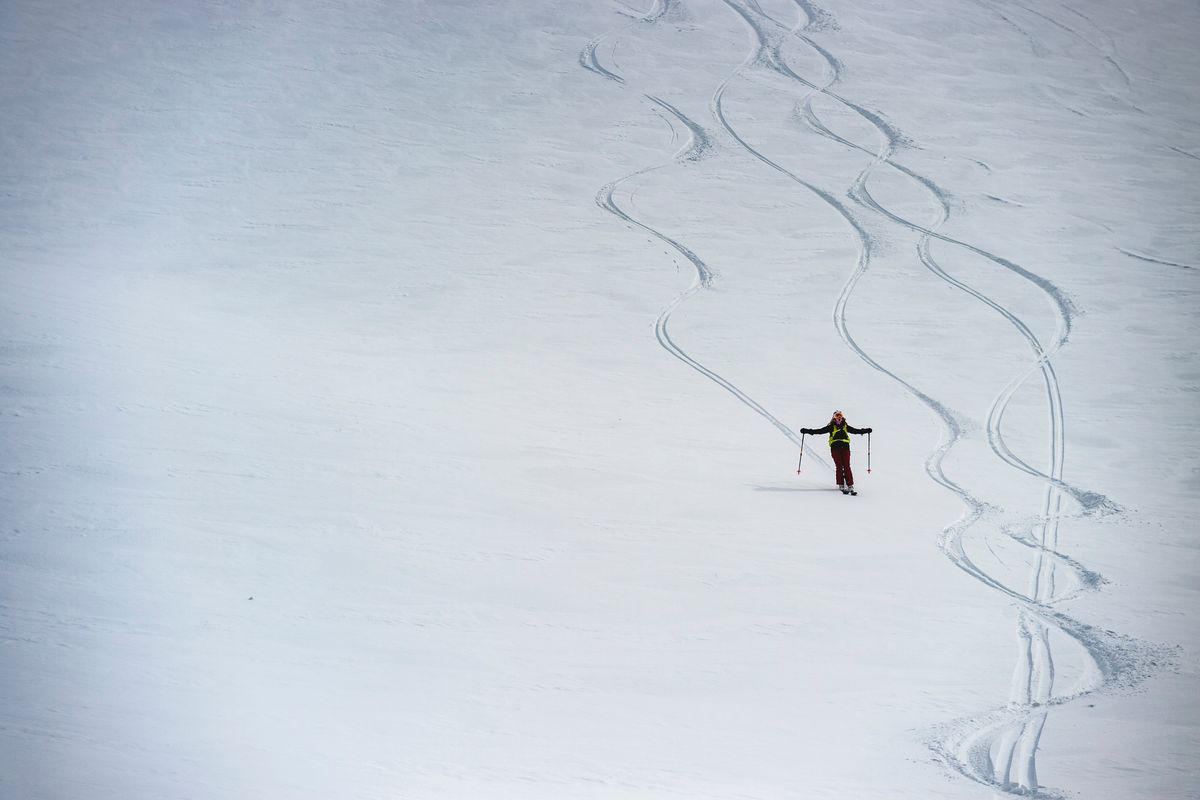
Madison Rose Ostergren skis in the backcountry near the Kees and Claire Hut outside of Whistler, British Columbia. (Re Wikstrom Photography)
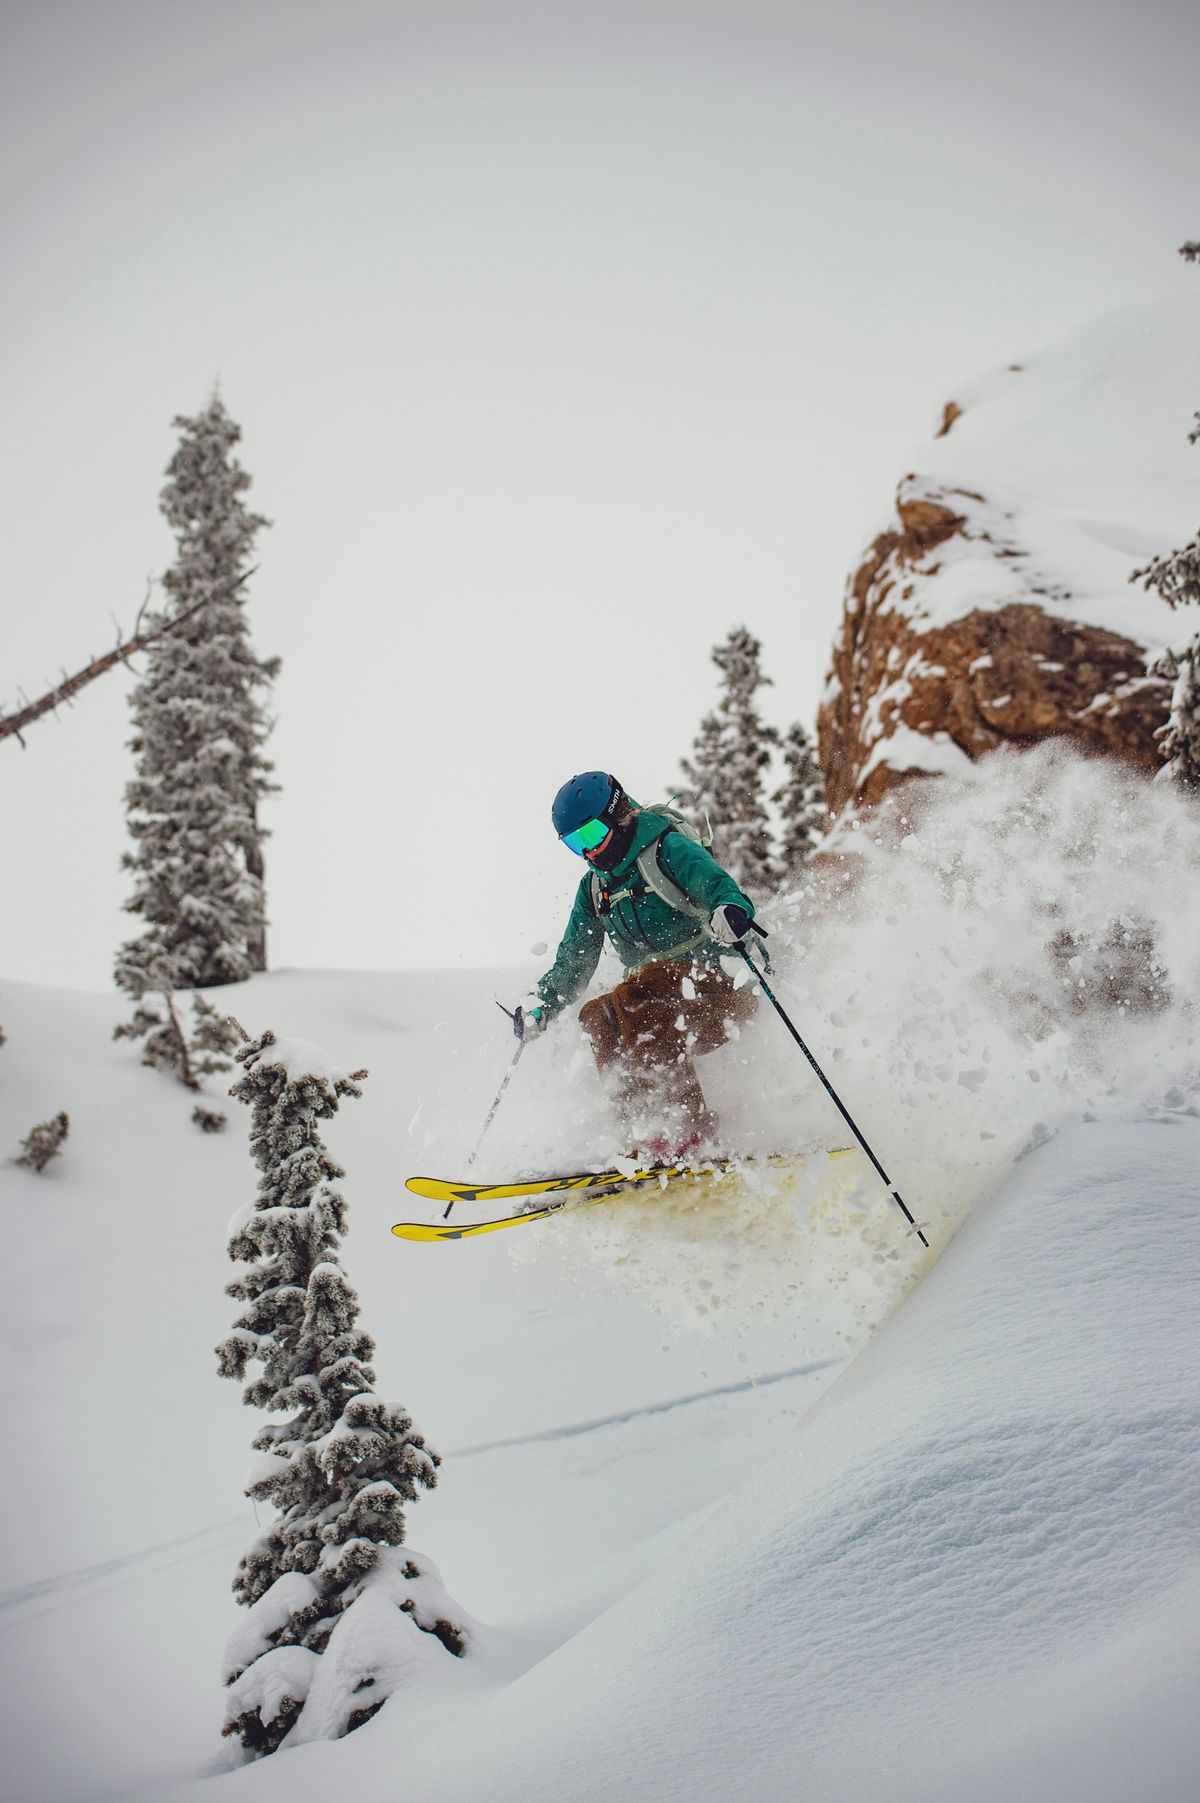
As resorts begin a season much closer to normal, professional ski photographers’ images on social media and magazine covers beckon Alpine and cross-country skiers more enticingly than ever. Those stunning shots of a solitary skier carving down a slope usually require a team on both sides of the camera: athletes and photographers who communicate and work together to envision, plan and create the photos.
But you don’t need to be a pro to create snowy scenes that pop. I asked photographers for some tips for capturing friends, family and landscapes, whether you’re shooting familiar places closer to home or visiting a new location.
“Everyone has an idea of what kind of photos they’d like to shoot, but it’s not always easy to get that shot,” said Scott Markewitz, a former pro skier who moved from one side of the lens to the other, becoming an award-winning action and adventure photographer. His work has appeared on more than 500 magazine covers and in campaigns for many sports and outdoor brands.
“Envision what you want to see instead of just pulling out your camera and shooting,” he said. By taking time to set up the shot and paying attention to composition, lighting and exposure, snapping that ideal scene is within reach.
Be prepared
Whatever camera you have – a smartphone, point-and-shoot, mirrorless or DSLR – can handle ski photography. Make sure you know your equipment, which means reading your manual to understand your camera’s capabilities, including autofocus, continuous shooting and the manual settings.
Keeping warm is paramount. Proper gloves are crucial for Re Wikstrom, who decided to become a ski photographer around age 12. Today, she’s a professional action sports and outdoor lifestyle photographer. She focuses on shooting female athletes and improving how women are represented in outdoor and adventure photography.
“Make sure you can operate your camera without freezing your hands,” she advised. Some gloves peel back to expose your fingertips, which can be helpful for those with smartphone cameras that don’t play well with touch-screen gloves. For other cameras, removing burlier gloves to expose thin liners allows you to manipulate controls.
Markewitz suggested hand warmers or heated gloves, as well as extra layers to keep your entire body toasty, because standing still creates more heat loss than moving around. Feet can get especially cold.
Although a smartphone might fit in a pocket, a larger camera with interchangeable lenses warrants a backpack with a padded case. Because cold-weather, safety and camera gear can jumble together in a pack, Wikstrom suggested practicing how to remove, set up and stash equipment quickly.
Depending on your setup, a few upgrades can protect your gear and enhance your experience: a weather-sealed camera body, a lens hood and a lens with speedy, accurate autofocus. Tuck an extra battery into your pocket, because cold temperatures can drain power quickly.
Markewitz also emphasized the importance of understanding your location. If you’re shooting in a familiar place, you’ll know photogenic spots. But if you’re in a new area, ski a couple of trails to experience the terrain and scout viewpoints.
Work with your subject
Once you’re ready to wrangle your subject, two-way communication is crucial, whether they’re conquering a black diamond run or a bunny hill. Be clear about how you envision the photo. Your subject should articulate what’s doable and what they see, because your perspectives will look drastically different. Plan together what you’re doing, where they’re going, where you’re standing and the magic moment you’re trying to capture.
Pro tip: Toss a snowball into the powder to mark that moment for the both of you.
Consider action, landscape
Ski photography integrates action and landscape techniques. Action can be tricky, especially for a novice, Wikstrom said. “You’re capturing a fast-moving subject, so you need to consider shutter speed, shooting sequence and what’s happening as your subject begins in one place and ends up in another.”
She suggested a 1/1,000 of a second or faster shutter speed. Many cameras – even smartphones – offer continuous shooting of several frames per second, allowing you to start shooting before and end after the subject moves through the action.
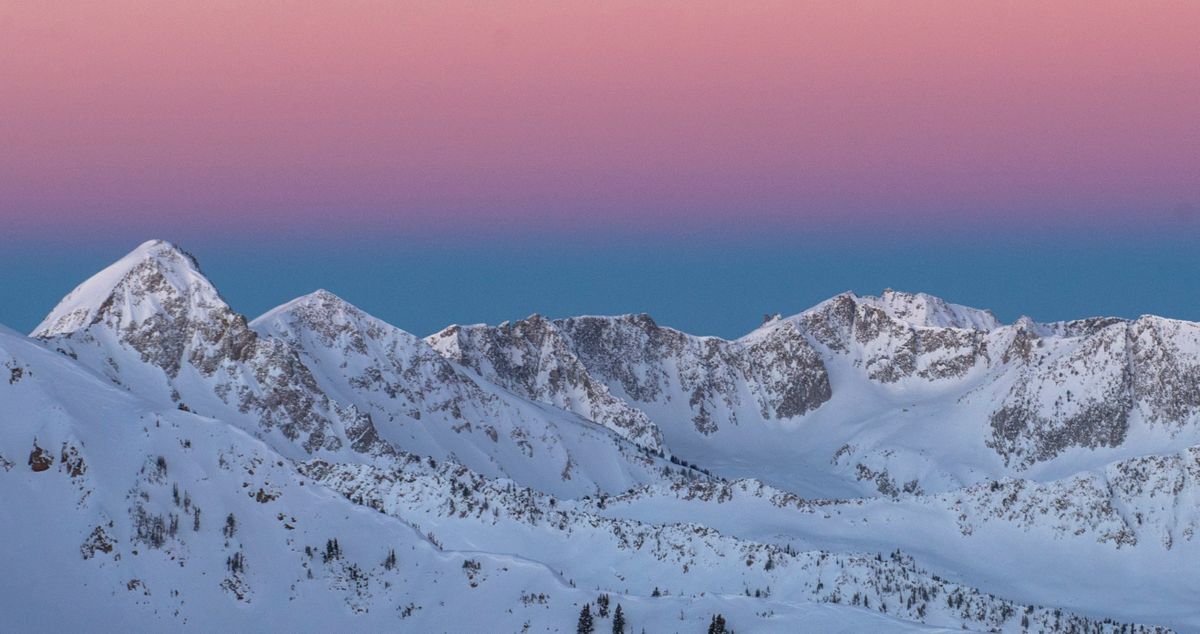
Landscape elements might involve shooting a dramatic scene that dwarfs your subject. Or they might challenge you to pay attention to mountains and trees in the background as you focus tightly on the action.
“The more you practice, the more each of these come together intuitively without you going through a mental checklist,” Wikstrom said. “Start with one, then layer the next until it becomes automatic.”
Frame your shot
“Your eye wants to gravitate toward the center, so create interest by shifting your composition off-center,” Markewitz said. Consider the rule of thirds: Mentally split the frame into thirds, then position your subject in the top or bottom, left or right third. The sky, a tree line and a ridgeline can form a natural structure. He also suggested placing the skier atop a horizon line dividing snow and sky.
If a skier or snowboarder is jumping, include a frame of reference for takeoff or landing. “Oftentimes, you want both, so you can see the full progression and scale of what that person is doing,” Wikstrom said.
Play with light
Bright, reflective snow can trick your light meter, causing auto exposure to underexpose and create gray snow. Try bumping up your exposure a stop or two to brighten the snow and your subject without blowing out the highlights – a tweak within the reach of even most smartphone cameras. And take a test shot before your subject zips down the hill.
“There’s no bad light,” Markewitz said. “Once you understand what the light does in various conditions, you can always make something work.”
Expand your perspective
To grow your creative vision, Markewitz suggested studying compelling action, lifestyle or landscape images for techniques you can bring into your work. Imitate lighting, body position, framing or anything that catches your eye.
Group workshops taught by a qualified instructor can fast-track skills, helping students critique their and other group members’ work.
Keep it safe
For pro shots or films, a behind-the-scenes team often keeps athletes, photographers and filmmakers safe and helps if something goes wrong. Even if it’s just you and a friend, safety is crucial.
At a resort, heed boundaries. Ducking the rope line can be dangerous and can create problems for ski patrol and a track for someone else to follow. Even inbounds, don’t shoot in a place that’s difficult for the subject, and stand out of the way in case they lose control.
Always keep other skiers in mind, and don’t stand in a blind spot. “Sometimes the easiest runs are the most dangerous, because people are all over the place and not paying attention to what’s in front of them,” said Markewitz, who sometimes stands behind a tree or positions someone nearby to warn him if another skier is approaching.
For backcountry skiing, all of the standard weather, avalanche and gear considerations apply. “Make sure you’re skiing safe terrain and you’re not putting each other at risk,” Wikstrom said. “You don’t want to be in the middle of a slope while your subject is skiing down on top of you in avalanche terrain.”
Markewitz cautioned against “Kodak courage”: ill-advised bravado that pushes someone to attempt something outside their ability once a photographer flashes a camera. But by keeping safety in mind, he said, it’s easy to “play around, try something new and have fun with the people you’re shooting.”


