Upcycled Life: Silk dyed eggs

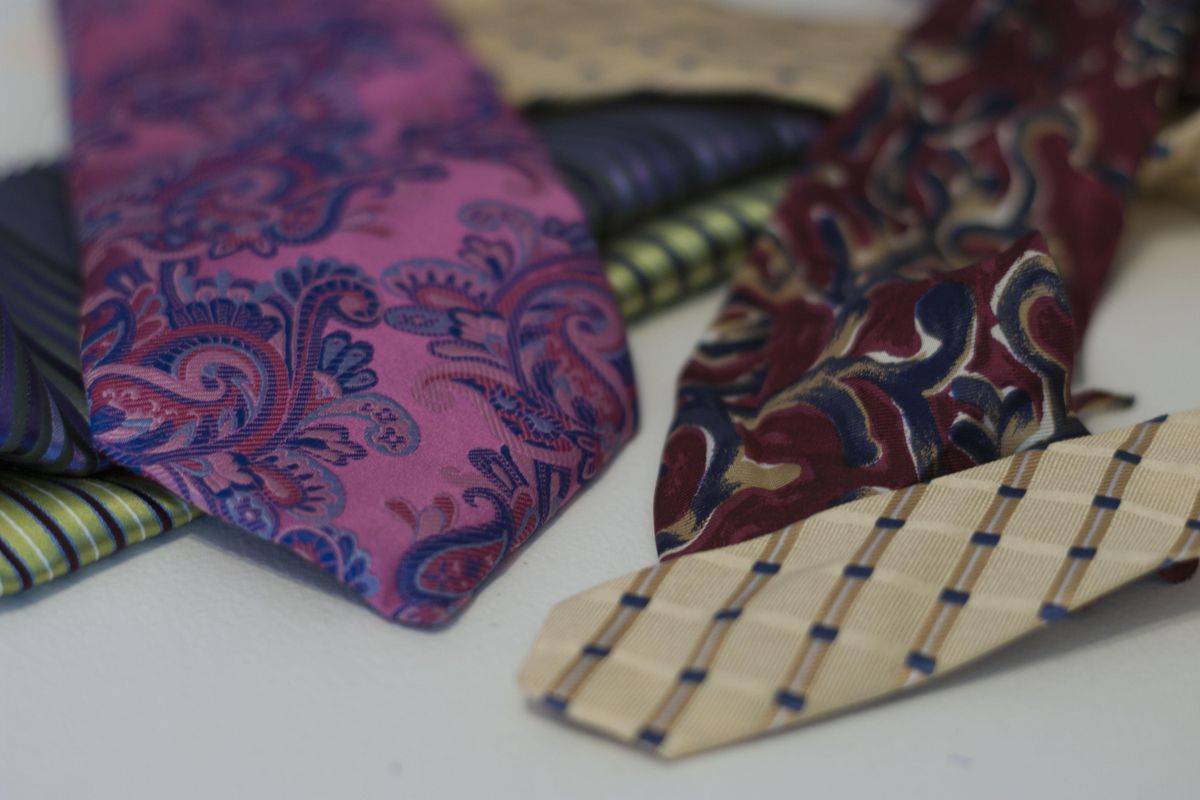
This technique for dying eggs with old neckties or other silk fabric scraps is simple and creates beautiful designs that pop. All ages can participate in most steps of this activity as it’s not very messy. Look for old neckties, or other 100% silk items like scarves or shirts, in your closet or at thrift store that you are ready to cut up.
Materials and tools
Eggs
Silk necktie(s)
Scissors
Sharp tack or pin
Rubber bands or string
Vinegar
Water
Pot to boil the eggs

How to
1. Use a sharp tack or pin to poke a hole in the top of an egg and then make a slightly larger hole in the bottom. Blow out the inside of the egg in a small dish and save for cooking or baking. Rinse out the inside of the egg and dry. Repeat blowing out as many eggs as you plan to decorate.
2. Deconstruct your silk item and keep any tie lining fabric to wrap a second layer over the silk.
3. Cut the silk fabric into rectangular pieces and wrap around the egg tightly making sure that the colorful print side is directly on the egg. Tie with a rubber band or string.
4. Using the lining fabric or other light colored fabric (old sheets work well for this) wrap and tie a second layer over the silk to help the silk make better contact with the egg. (I like to wrap several rubber bands or string all over the egg to get the fabric in close contact with the egg.)
5. Lay all of the wrapped eggs in a single layer in a pot and fill with water about an inch above the eggs and add 1/4 cup of vinegar. (If you have blown your eggs like I did you will need to use a colander or small plate to keep the eggs submerged in the water.)
6. Bring the pot to boil on the stove and simmer for 20 minutes.
7. Let the eggs cool and remove from the water, being cautious of any hot water remaining inside the egg.
8. Unwrap all of the layers to reveal that patterns imprinted on the shell.
Tips
Blown eggs will keep indefinitely.
DO NOT plan to eat boiled eggs if you don’t blow out the insides, as the dye from fabrics is not food safe.
Avoid neckties that have stain resistant treatments as the dye will not imprint onto the egg.
Katie Patterson Larson is the director and founder of Art Salvage, Spokane’s creative reuse center. Art Salvage keeps usable materials out of the waste stream and makes them accessible and affordable to everyone. Visit the Art Salvage store for more upcycled inspiration and to find gently used and new creative materials. For more information, visit www.artsalvagespokane.com. Contact Patterson Larson at katie@artsalvagespokane.com.